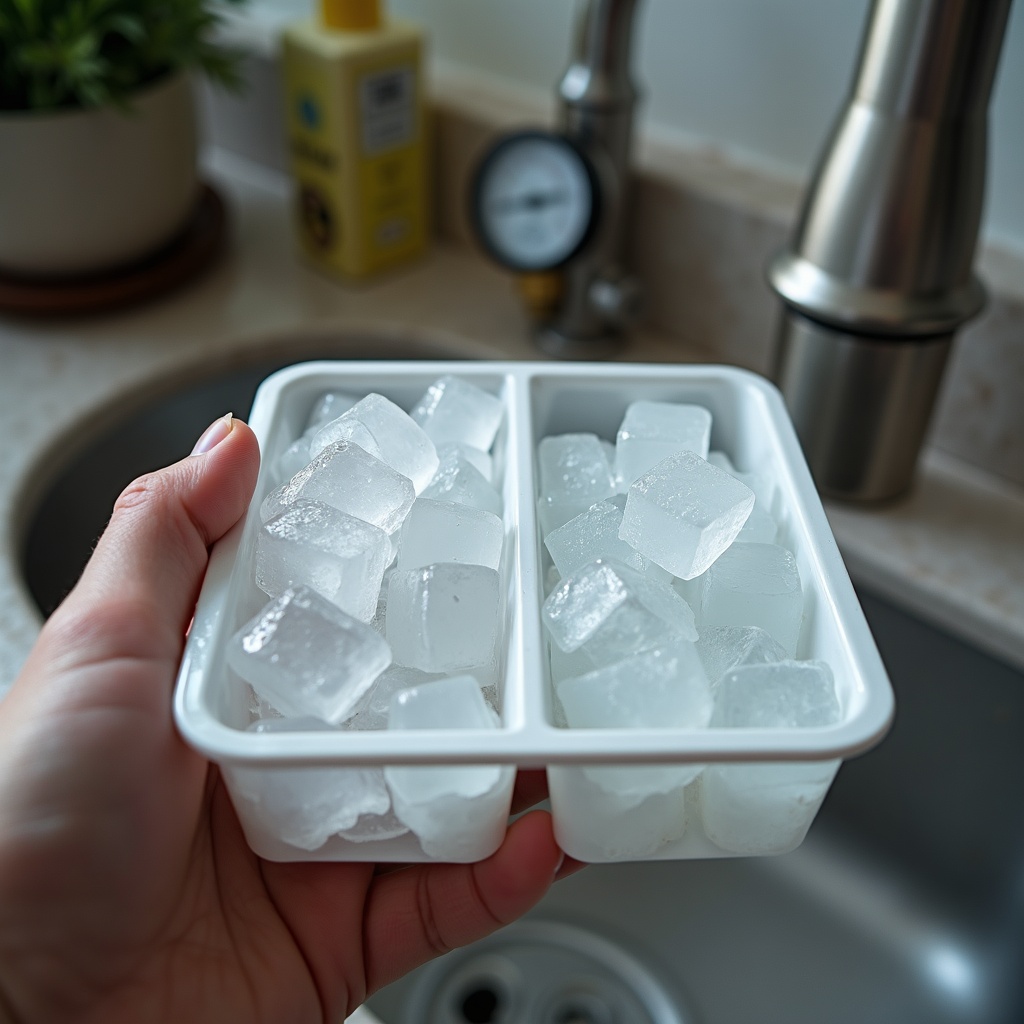
You’re Pouring a Cold Drink and Watch Half-Filled, Hollow Ice Cubes Drop Into Your Glass
It’s a moment every Woodland Hills homeowner notices: the ice maker that once produced solid, crisp cubes now delivers disappointing hollow shells or undersized nuggets. You know something’s wrong, but pinpointing whether the problem originates from your home’s water supply, the supply line itself, or the ice maker’s internal valve can feel like guesswork. Water pressure and flow issues are the most common culprits behind degraded ice quality, and the good news is that many of these problems are diagnosable and fixable without replacing the entire refrigerator.
📋 In This Guide
💰 Typical Ice Maker Repair Cost Ranges
- Water inlet valve replacement: $200–$450
- Water line inspection and repair: $150–$350
- Water filter replacement: $40–$120
- Water pressure diagnostic test: $75–$150
- Hard water mineral flush service: $100–$250
This troubleshooting guide walks you through five actionable steps to diagnose and resolve water pressure-related ice quality problems in your Woodland Hills home. By working through these steps methodically, you’ll identify whether the issue lies with your municipal water supply, your home’s plumbing infrastructure, or your refrigerator’s ice maker assembly—and you’ll know whether a DIY fix or professional service is your best next move.
Step 1: Understand How Water Pressure Affects Ice Formation
Ice cubes form when water fills the ice maker’s mold cavity completely, then freezes solid over several hours. When water pressure drops below optimal levels—typically 40–60 PSI for most refrigerator ice makers—the mold doesn’t fill all the way. This partial fill creates hollow or half-sized cubes because the water level never reaches the edges of the cavity. As the water freezes incompletely, air pockets form inside, resulting in the characteristic chalky, fragile ice you’re seeing.
Woodland Hills homes built in the mid-to-late twentieth century often rely on older municipal water infrastructure that can experience pressure fluctuations, especially during peak usage hours (typically 6–9 AM and 5–8 PM). Additionally, homes in higher elevations within Woodland Hills ZIP codes 91364 and 91367 may naturally receive lower water pressure from the municipal supply. Hard water mineral buildup—a persistent issue in Southern California’s water supply—compounds pressure loss by narrowing water pathways in supply lines and valves.
Normal, solid ice cubes indicate that water pressure is adequate and the inlet valve is opening fully. Hollow, small, or cloudy cubes signal restricted water flow. Understanding this relationship helps you distinguish between a simple pressure issue and a component failure requiring replacement.
Step 2: Measure Your Home’s Water Pressure (Simple DIY Test)
What You Need
Purchase or borrow a water pressure gauge, available at hardware stores for $8–$20. These simple analog devices attach to any outdoor faucet or hose spigot via a threaded connection. No technical skill required.
How to Test
1. Turn off all water-consuming appliances. Close dishwashers, stop running washing machines, and don’t run showers or faucets. Wait five minutes for the system to stabilize.
2. Locate an outdoor water spigot or faucet. Most Woodland Hills homes have one on the front or rear exterior. If none is accessible, you can test at an indoor sink faucet, though outdoor tests are more reliable.
3. Screw the pressure gauge onto the spigot. Hand-tighten only—do not use tools. Open the spigot fully and note the PSI reading on the gauge dial.
4. Record the reading. Take measurements at different times (morning, evening, during peak hours) to identify pressure fluctuations. Most municipal water systems maintain 40–120 PSI. Readings below 40 PSI indicate low pressure; readings above 120 PSI indicate high pressure (which can also damage components).
Interpreting Your Results
40–80 PSI: Adequate for ice makers. If your pressure falls in this range and you’re still producing hollow cubes, the problem likely lies with the ice maker valve or water line, not municipal supply.
Below 40 PSI: Low pressure is restricting ice maker fill. Check with neighbors to determine if the low pressure is localized to your home (suggesting a household plumbing issue) or affecting your entire block (suggesting a municipal supply issue).
Above 120 PSI: Excessive pressure can damage inlet valves and seals. Contact your water provider or consider installing a pressure regulator.
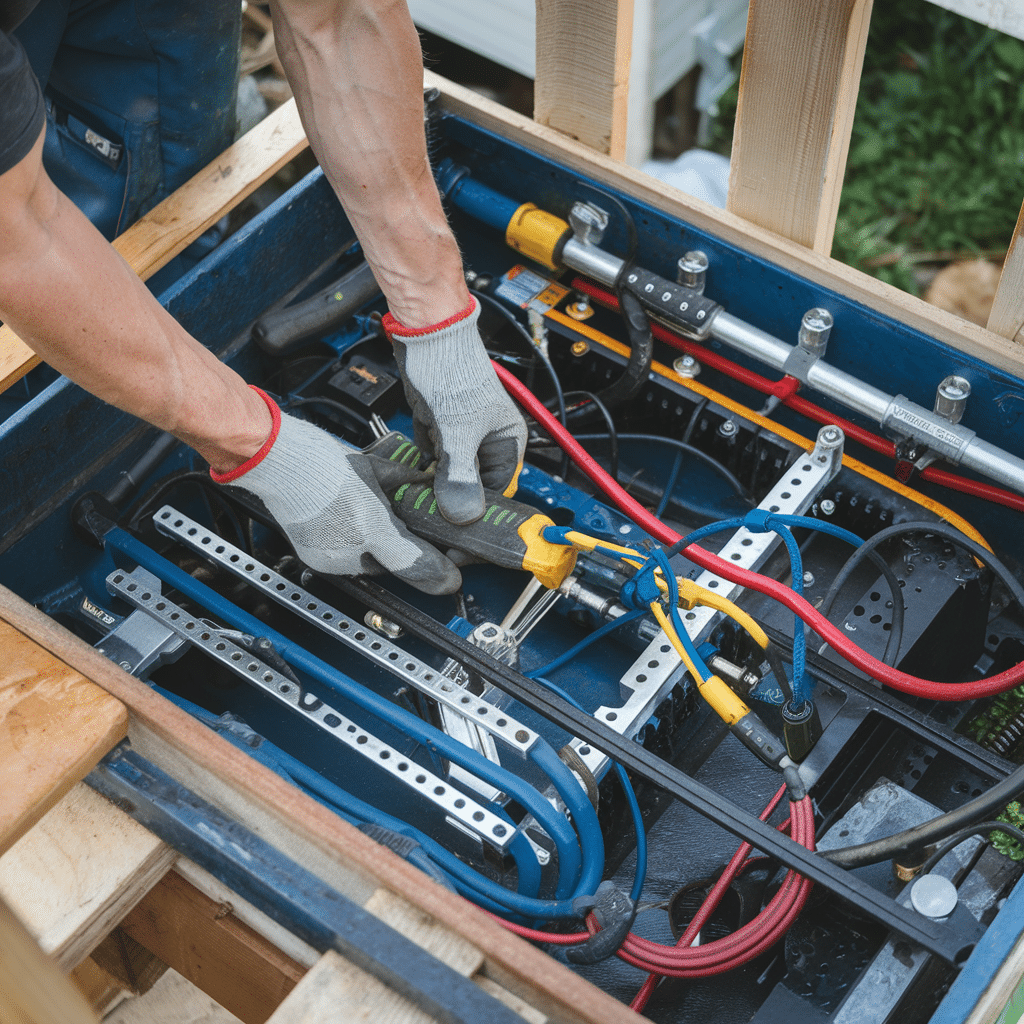
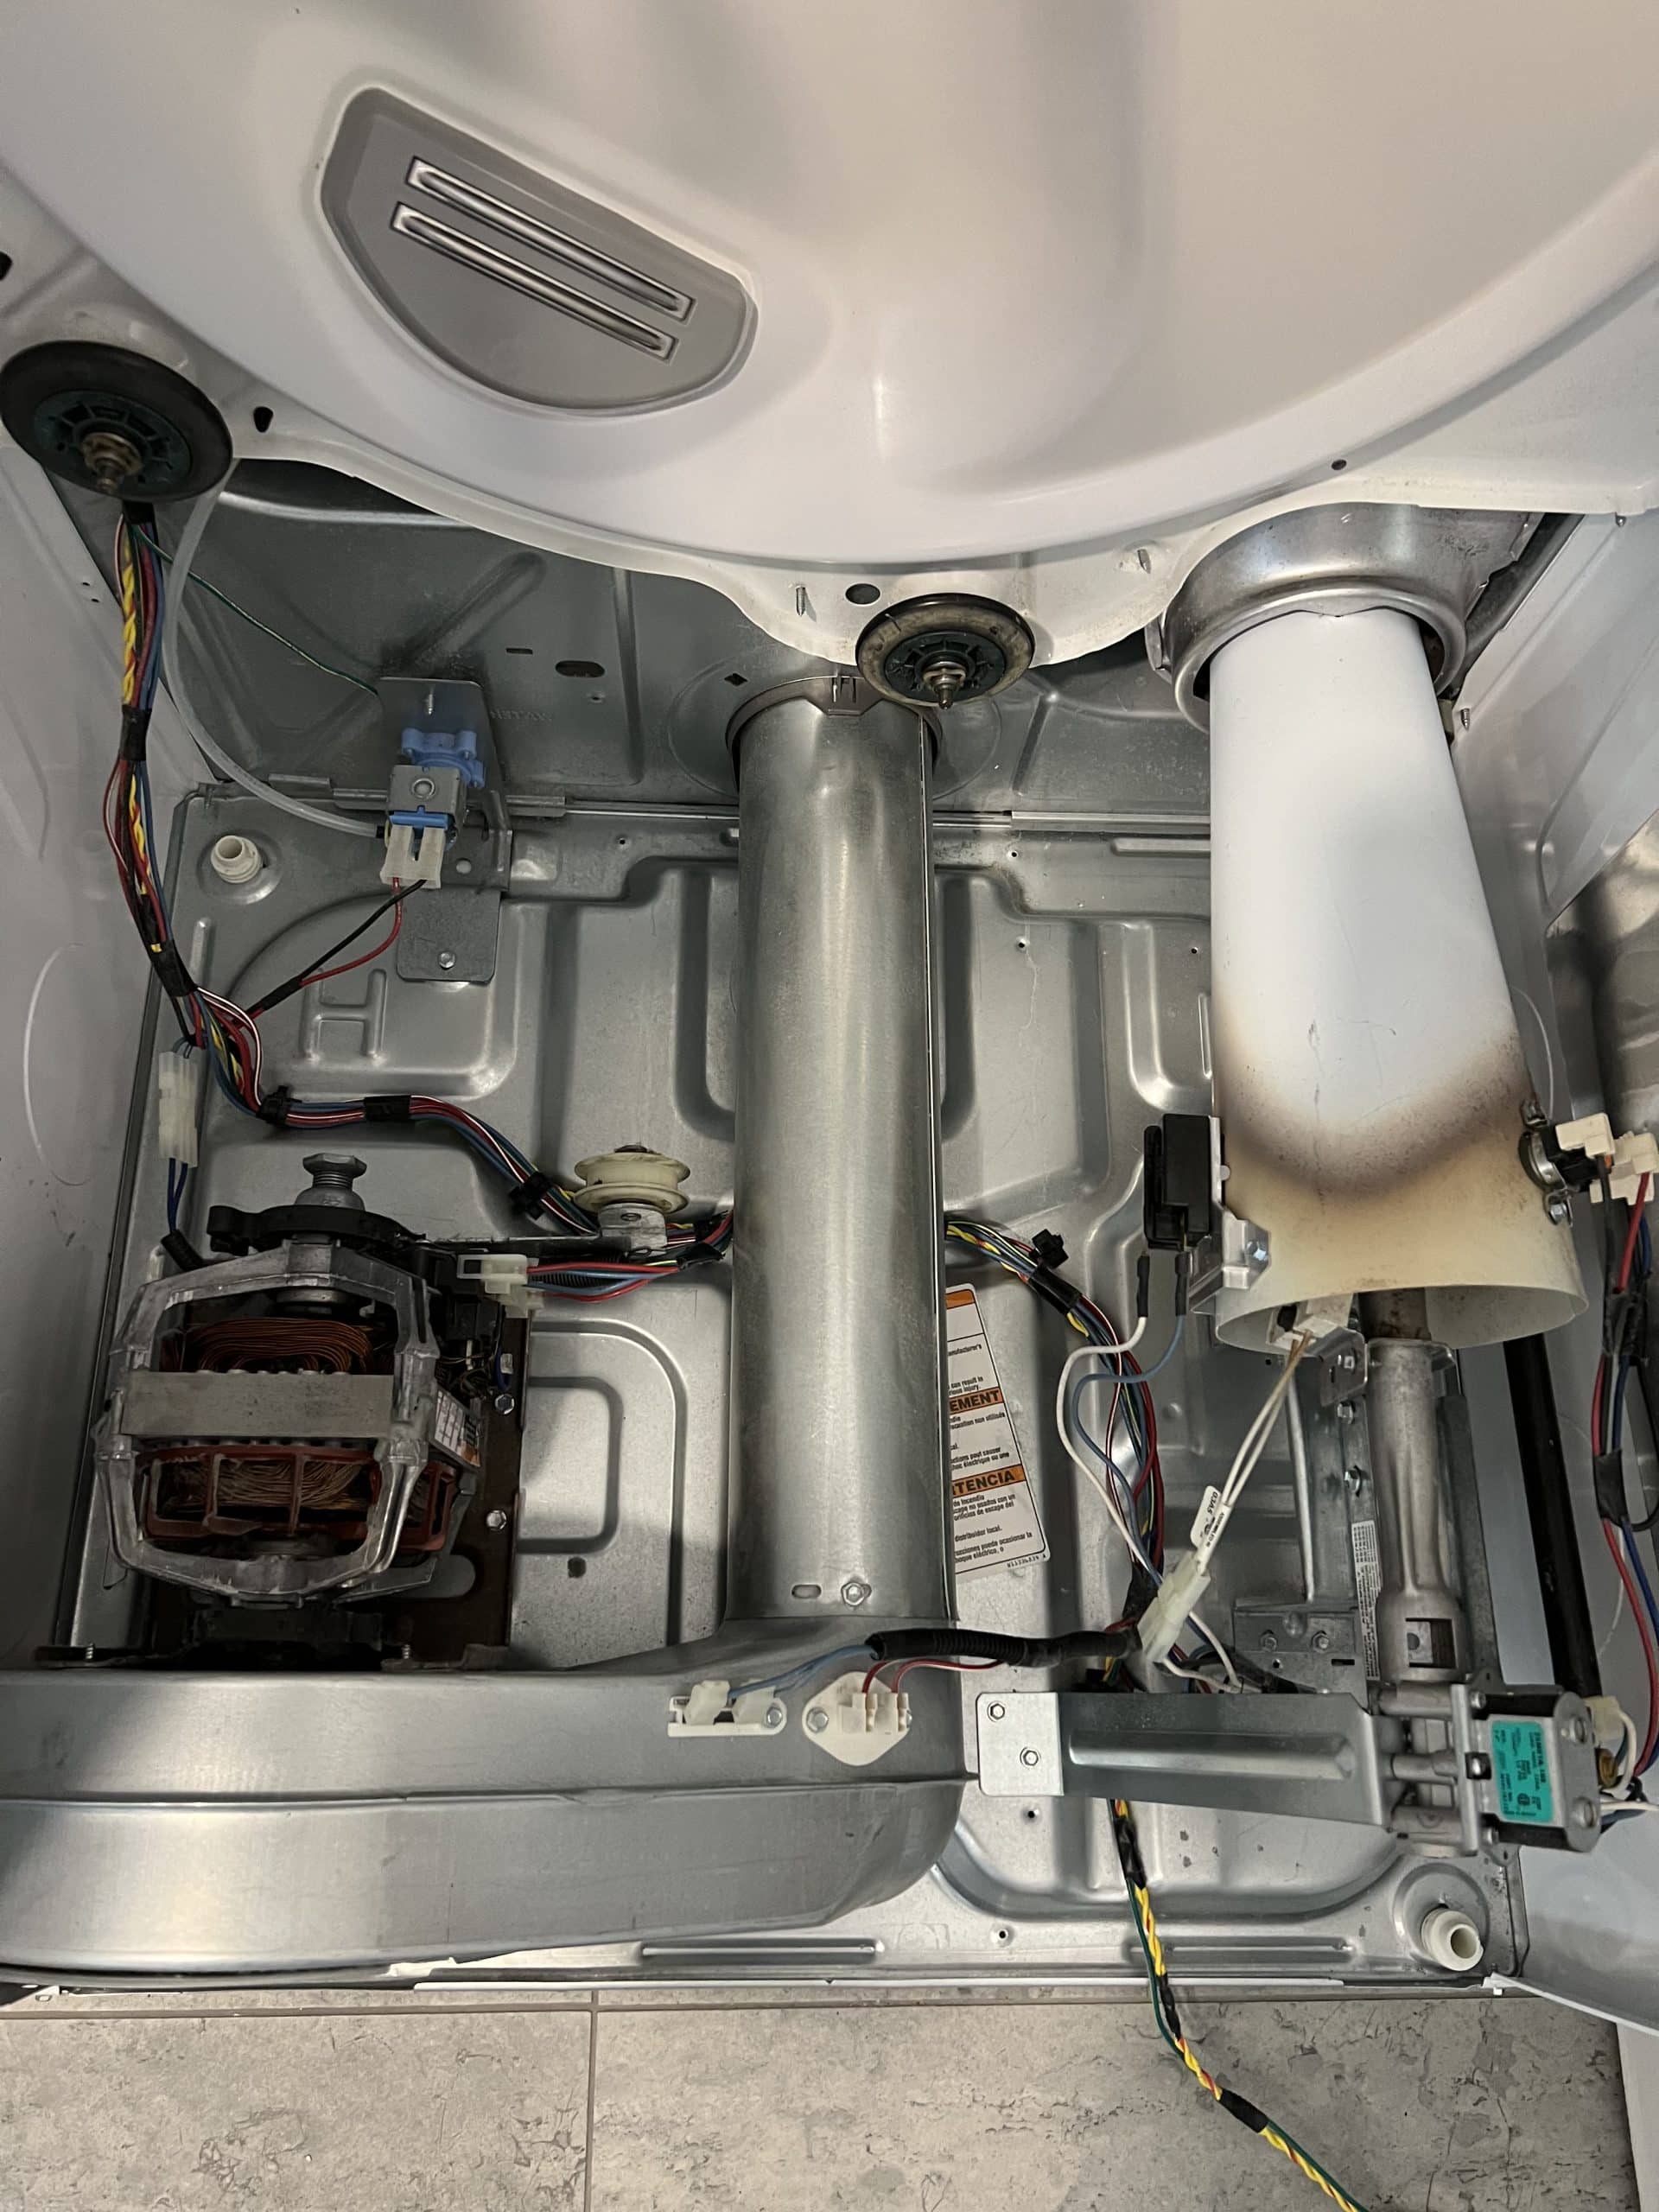
Step 3: Inspect Your Water Supply Line and Test the Inlet Valve
Locating and Examining the Water Line
Most refrigerators draw water from a dedicated supply line that runs from your home’s main water supply (often under the sink or through cabinetry) to the back of the unit. Follow this line carefully:
1. Unplug the refrigerator. Safety first. Locate the water line at the back of the appliance—it’s typically a quarter-inch plastic or copper tube.
2. Check for visible kinks, crimps, or cracks. Kinks restrict flow dramatically. A kinked line will feel stiff or bent at the problem point. Even slight bends reduce pressure significantly. If you find kinks, gently straighten the line or, if it’s cracked, plan for replacement.
3. Feel along the line for icy buildup. In winter months or homes with extremely cold back-wall conditions, frozen sections of the water line can block flow entirely. Thawing requires removing the line and running warm water through it (do not use heat guns—risk of rupture).
4. Trace the line to its source. Where does it connect to your home’s water supply? Is the connection at an isolation valve? If debris entered the line during plumbing work, it may be lodged at the shutoff valve. Turn off the water, open the isolation valve, and flush it for 10 seconds to clear debris.
Testing the Ice Maker Water Inlet Valve
The inlet valve controls how much water flows into the ice maker mold. A partially blocked or failing valve produces small or hollow cubes even when water pressure is adequate.
1. With the refrigerator unplugged, locate the inlet valve. It’s typically mounted on the back of the refrigerator where the water line connects. Most modern refrigerators have a solenoid inlet valve (recognizable by two wire terminals and an outlet tube to the ice maker).
2. Disconnect the water line from the inlet valve. Place a cup or towel underneath to catch water. Reconnect your water supply (without the refrigerator plugged in), turn on the isolation valve, and watch the flow from the disconnected line. Water should flow steadily at a rate of approximately 0.5 gallons per minute. Weak trickle indicates the line is clogged upstream; you’ll need to flush or replace it.
3. If flow is adequate, reconnect the line and plug in the refrigerator. The valve is likely functional. If ice quality remains poor, the issue may be with the ice maker mold itself or timing/fill settings.
4. If flow is weak, the inlet valve cartridge may need replacement. This is typically a $200–$450 service, depending on refrigerator brand and your location in Woodland Hills.
Step 4: Address Hard Water Mineral Buildup (Woodland Hills-Specific Concern)
Southern California’s water supply is notoriously mineral-rich. Calcium and magnesium deposits accumulate in water lines, filters, and inlet valves over time, gradually restricting flow. Woodland Hills homes that haven’t replaced water filters recently or flushed their refrigerator lines are particularly vulnerable to this issue.
Replacing the Refrigerator Water Filter
1. Identify your filter type. Common models include inline filters (mounted under the sink or in cabinetry) and cartridge filters (inside the refrigerator, often in the upper-right corner or bottom grille). Check your refrigerator manual or manufacturer website.
2. Purchase a replacement filter rated for your exact model. Generic filters may not fit properly or may not remove hardness minerals effectively. Genuine manufacturer filters (Whirlpool, LG, Samsung, Bosch, KitchenAid, GE, or Maytag) cost $40–$120 and typically last 6–12 months, depending on your water hardness.
3. Turn off the water supply before removal. Locate the isolation valve upstream of the filter. Turn it clockwise to close. If no isolation valve exists, you may need to turn off your home’s main water supply.
4. Unscrew the old filter and screw in the new one hand-tight. Open the isolation valve and run water through a nearby sink for 10 seconds to purge air from the line.
5. Flush the ice maker. Press the ice maker test button (if equipped) or initiate an automatic cycle by pressing the dispenser. The first few batches of ice may appear cloudy or slightly discolored—this is normal and clears within 24 hours as residual minerals flush through.
Manual Mineral Flush for Supply Lines
If replacing the filter doesn’t restore ice quality, mineral deposits may have accumulated inside the water line itself. A professional mineral flush involves running a food-safe descaling solution (typically citric acid) through the entire refrigerator water circuit. This service typically costs $100–$250 and requires specialized equipment. ACE Appliance Heating and Cooling’s technicians can perform this service efficiently to restore full water pressure to your ice maker.
Step 5: Adjust Ice Maker Fill Time and Recognize When to Call a Professional
Checking Fill Time Settings
Some refrigerators allow manual adjustment of how long the inlet valve remains open during each fill cycle. If water pressure is marginal (50–60 PSI), extending fill time may allow the mold to reach full capacity even with slower flow.
1. Access your refrigerator’s control panel or settings menu. This varies dramatically by brand and model—Whirlpool, LG, Samsung, Maytag, Bosch, KitchenAid, and GE all use different interfaces. Consult your user manual or the manufacturer’s website for your specific model number.
2. Look for an ice maker fill time or water level adjustment option. Not all models offer this feature. If available, it’s typically labeled “Fill Time,” “Water Level,” or “Ice Maker Settings.”
3. Increase the fill time by one or two increments (if adjustable in steps) and initiate a test cycle. Run 2–3 ice-making cycles over 24 hours and evaluate the cube appearance. If cubes remain hollow or small despite increased fill time, hardware failure (not settings) is the cause.
Visual Comparison: Normal vs. Problematic Ice
| Ice Appearance | Normal (Adequate Pressure) | Problematic (Low Pressure/Blockage) |
|---|---|---|
| Shape & Size | Full cubes, uniform, 1 inch per side | Half-filled, undersized, or partially formed nuggets |
| Density & Clarity | Solid throughout, clear or slightly cloudy | Hollow centers, visibly porous or spongy texture |
| Production Rate | Consistent, typically 1–2 batches per day | Slow, irregular, or long gaps between batches |
| Melting Rate | Melts gradually in room-temperature water | Hollow cubes disintegrate or float in liquid |
When to Call a Professional
If you’ve completed steps 1–5 and hollow or small ice cubes persist, the issue likely involves internal refrigerator components (failing mold heater, control board malfunction, or compressor pressure regulation) that require professional diagnosis. In Woodland Hills, where homes are valued at $1.162 million on average, the cost of a professional ice maker repair ($200–$450 for component replacement) is far less than the cost of premature refrigerator replacement.
Contact ACE Appliance Heating and Cooling at (818) 939-4882 to schedule a diagnostic appointment. Our technicians will perform a complete water pressure assessment, inspect your inlet valve and supply line, and recommend the most cost-effective repair path. We service all major brands—Whirlpool, LG, Samsung, Maytag, Bosch, KitchenAid, and GE—and offer same-day or next-day service for Woodland Hills residents in ZIP codes 91364 and 91367.
If your dishwasher or washing machine also exhibits water flow issues, these may indicate a shared water pressure problem affecting multiple appliances. Our technicians can assess your entire home’s water delivery system during a single visit, often uncovering upstream issues that solve multiple appliance problems at once.
ACE Appliance Heating and Cooling
Get Your Free Quote Today